
The World’s Finest Audio Components and Gear
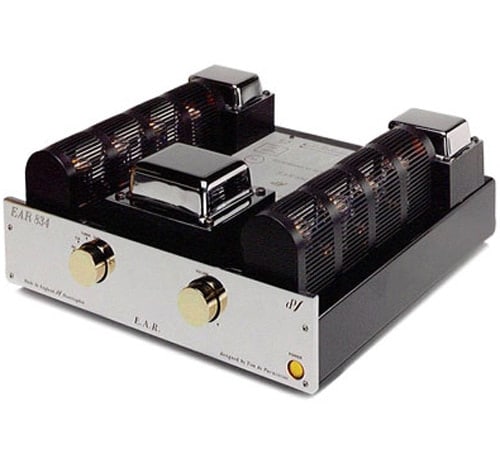
Amplifiers

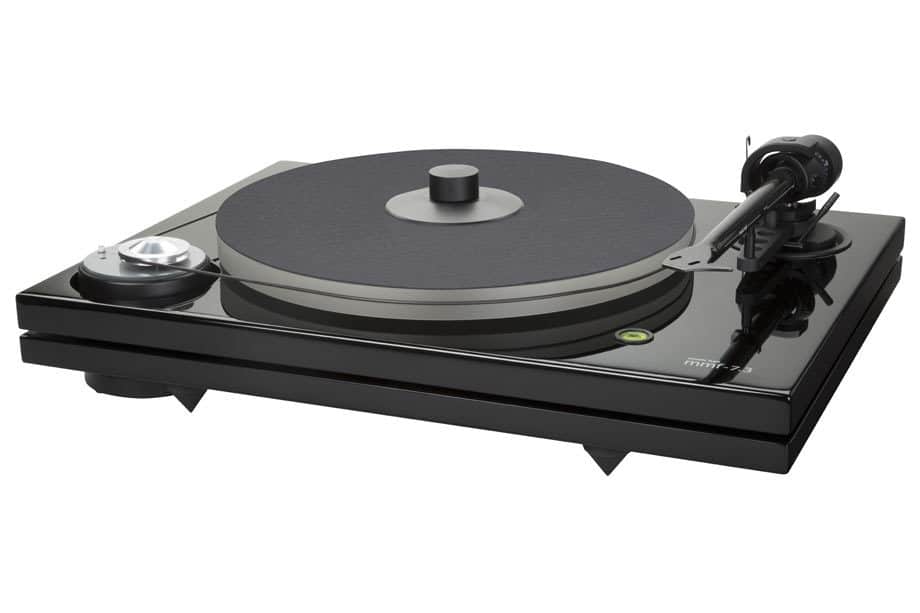
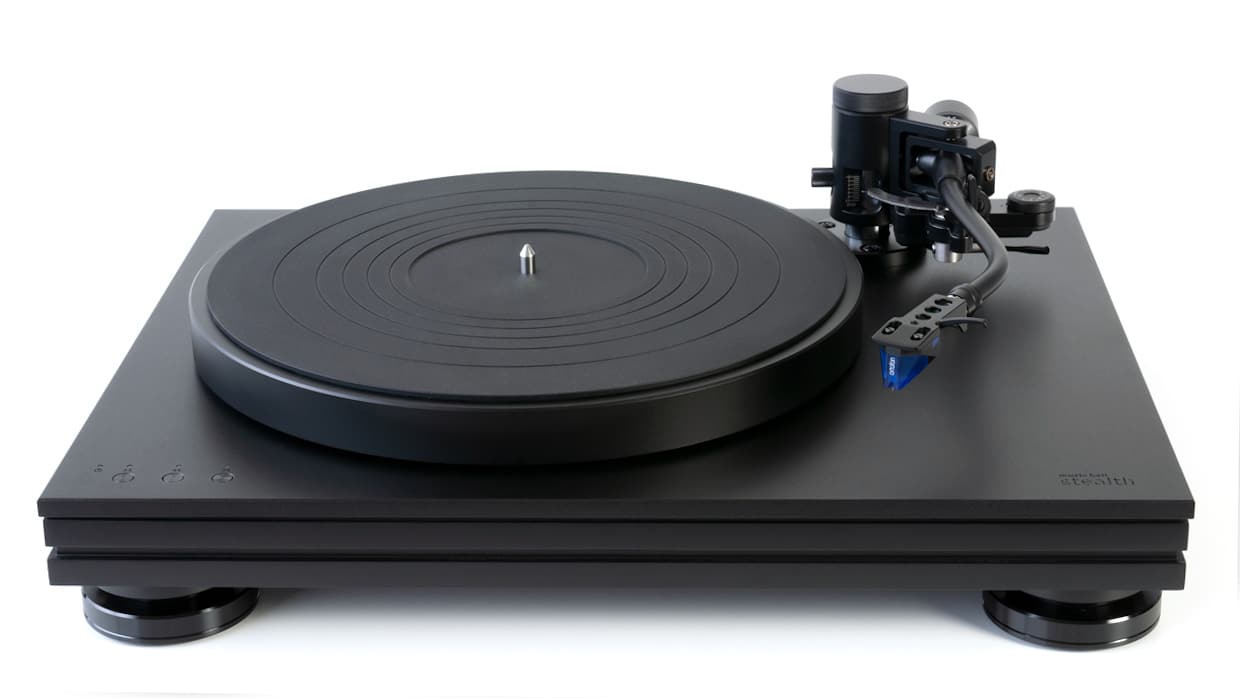
Turntables
Headphones

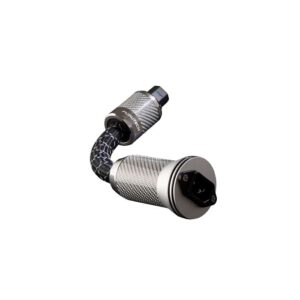
Tweak Devices
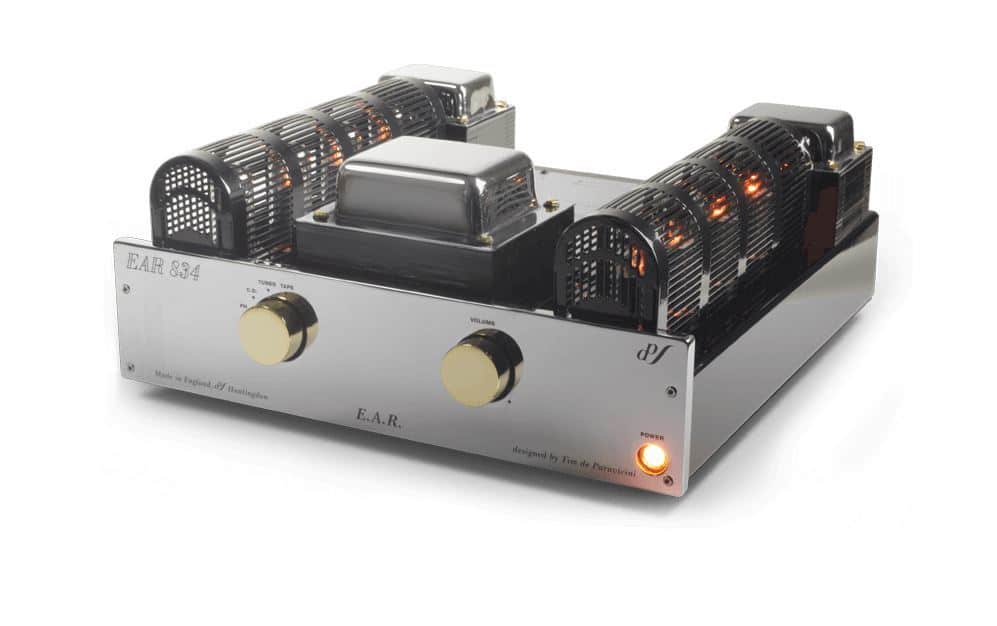
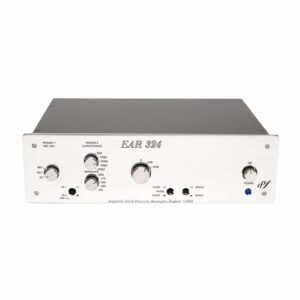
Preamplifiers
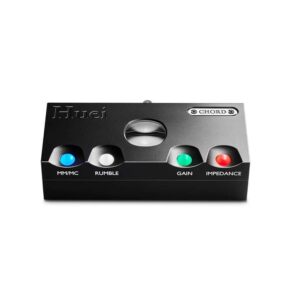
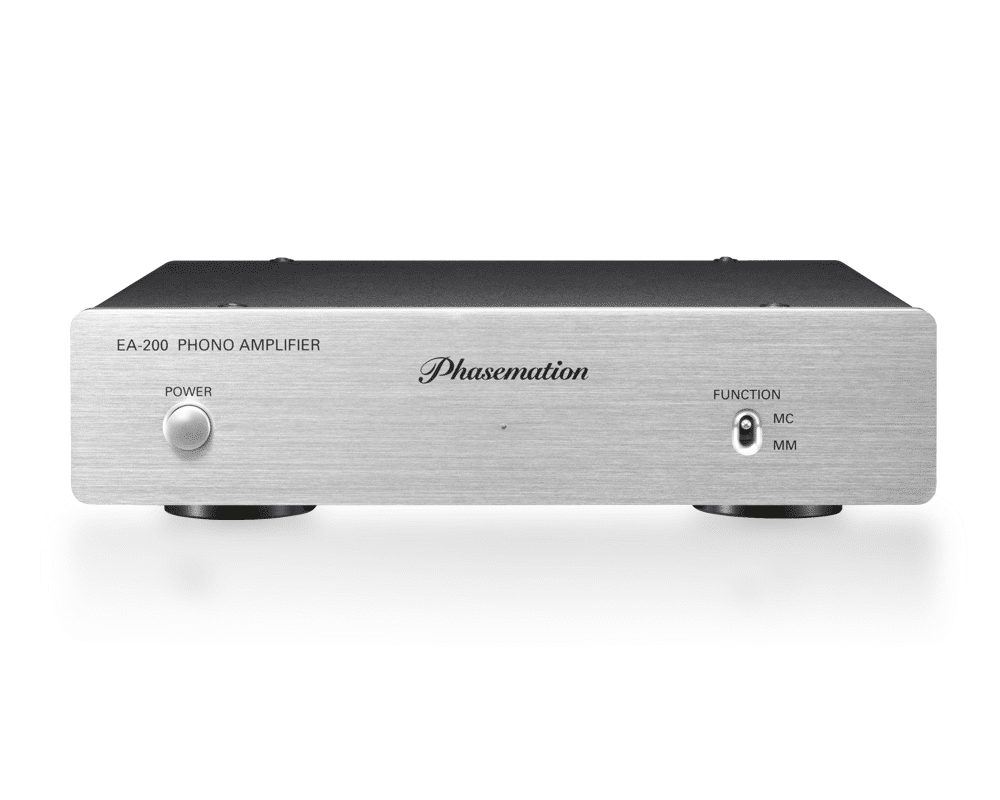
Phono Preamplifiers
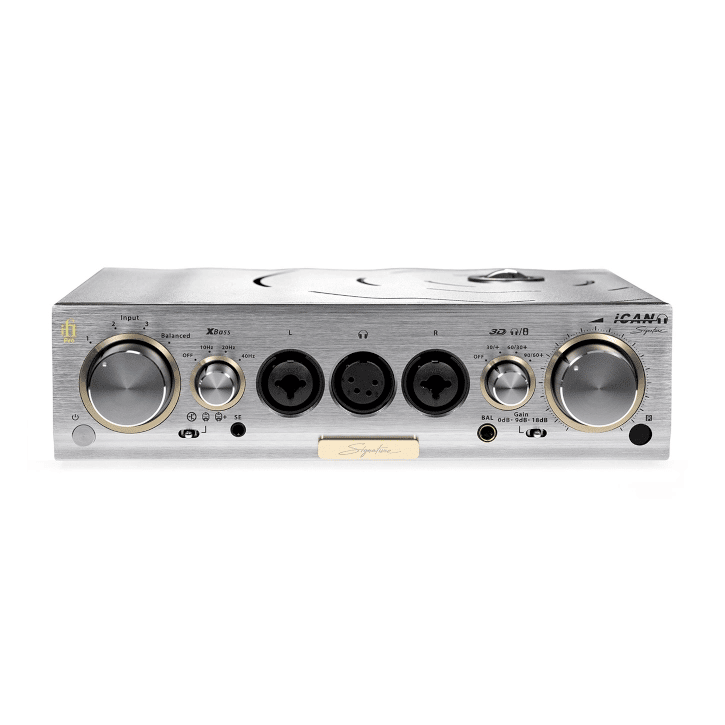
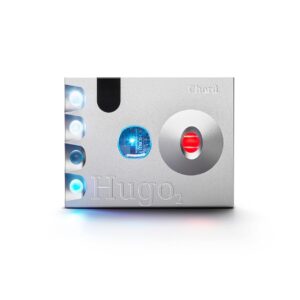
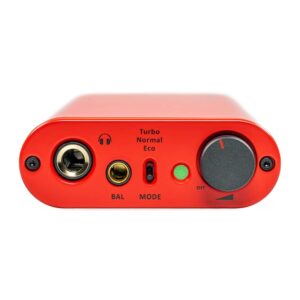
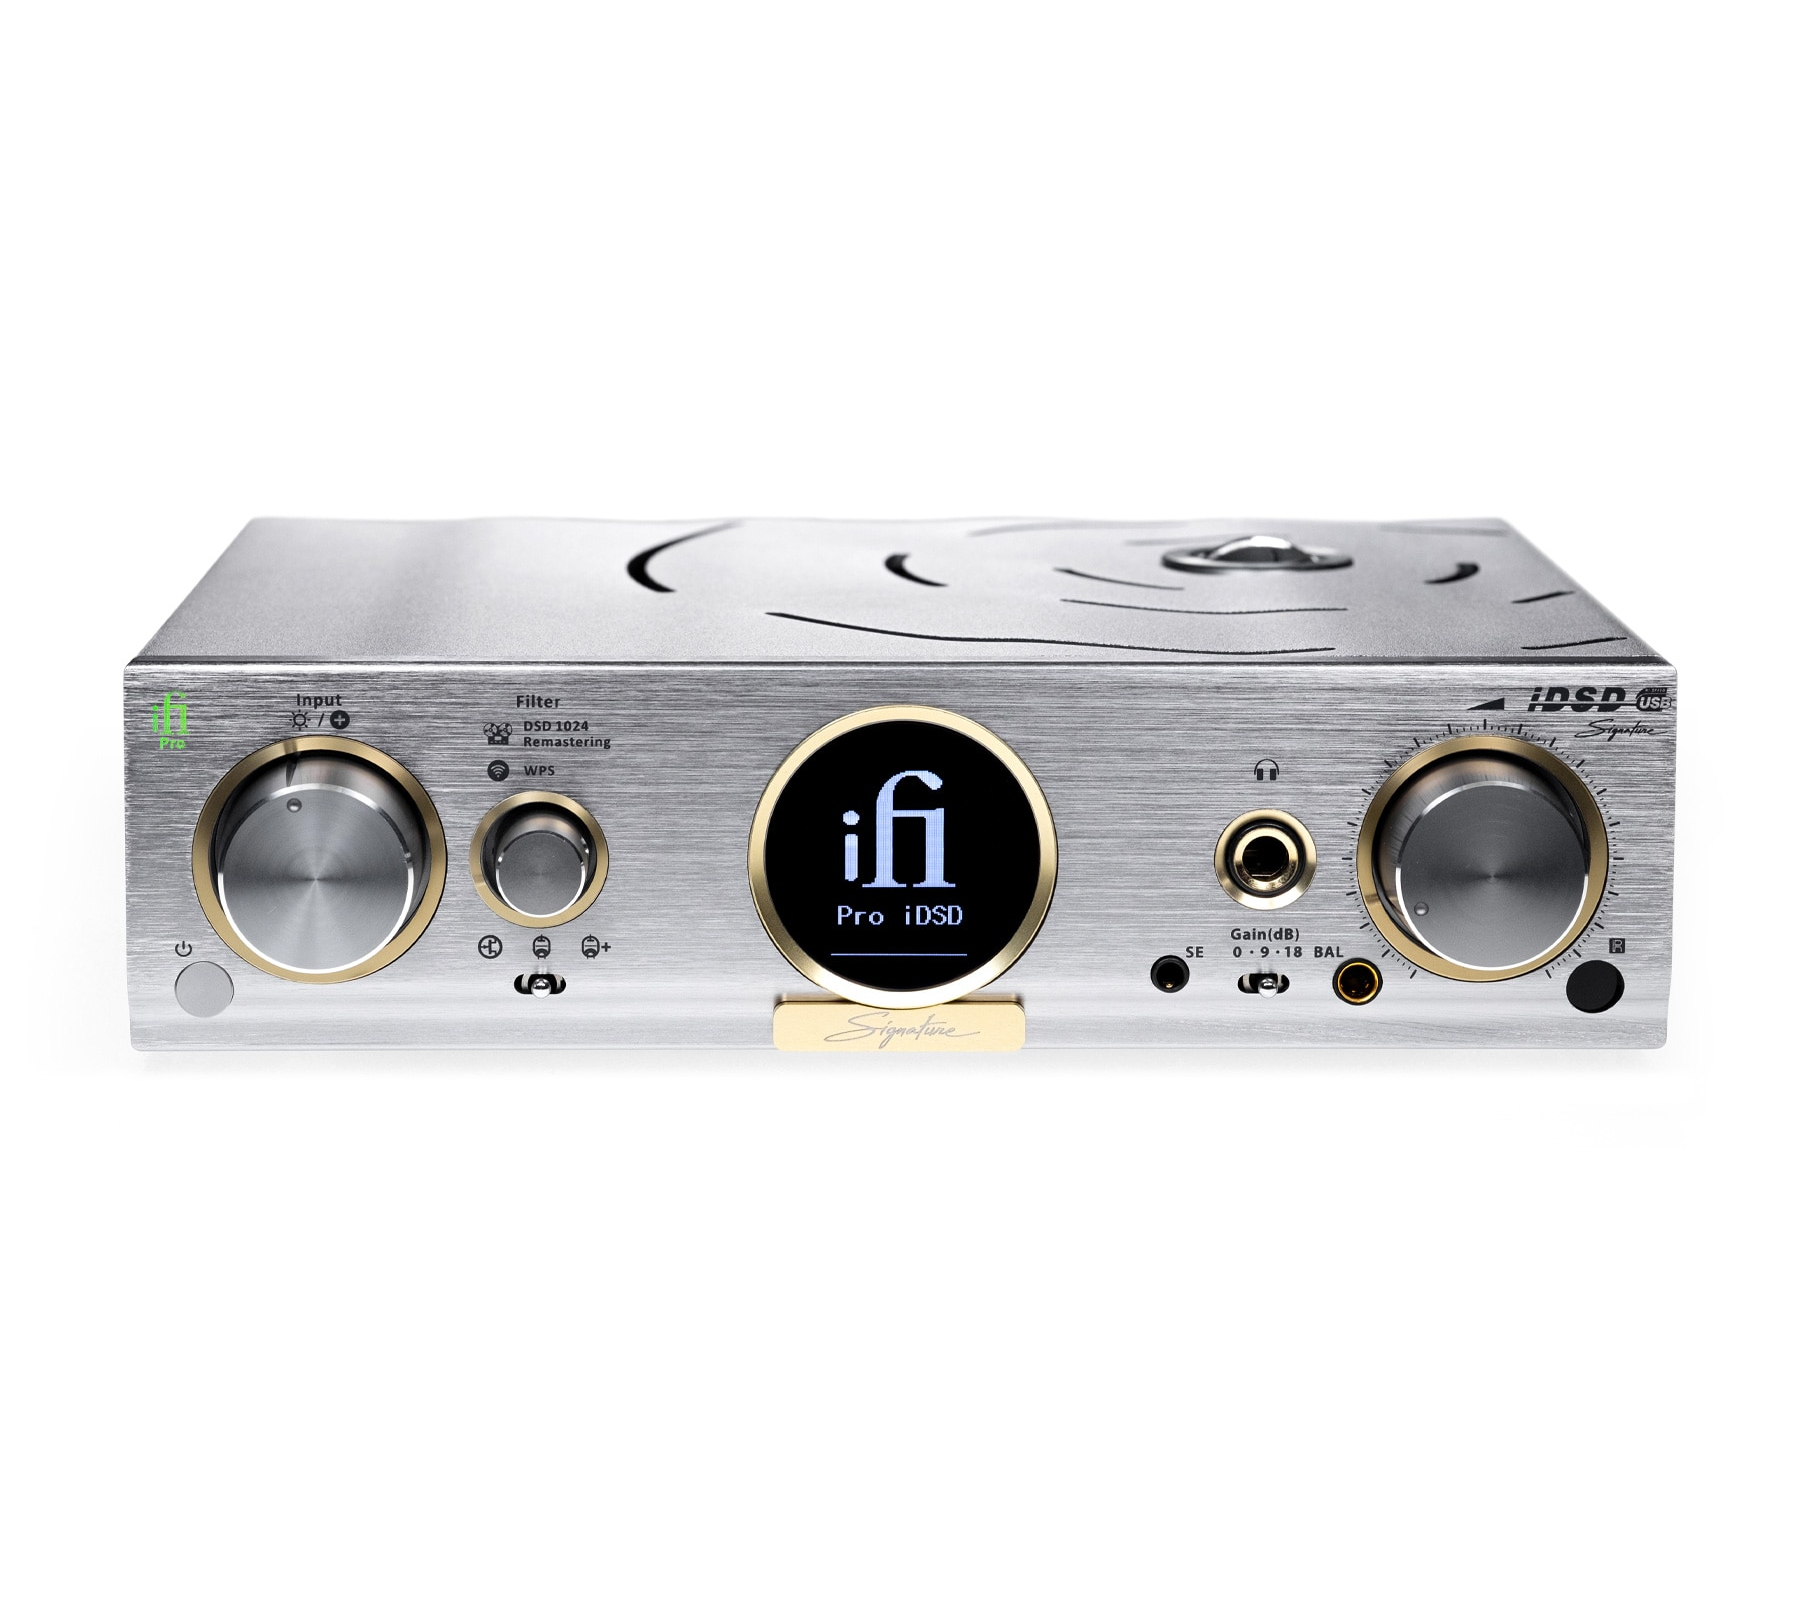
Headphone Amplifiers
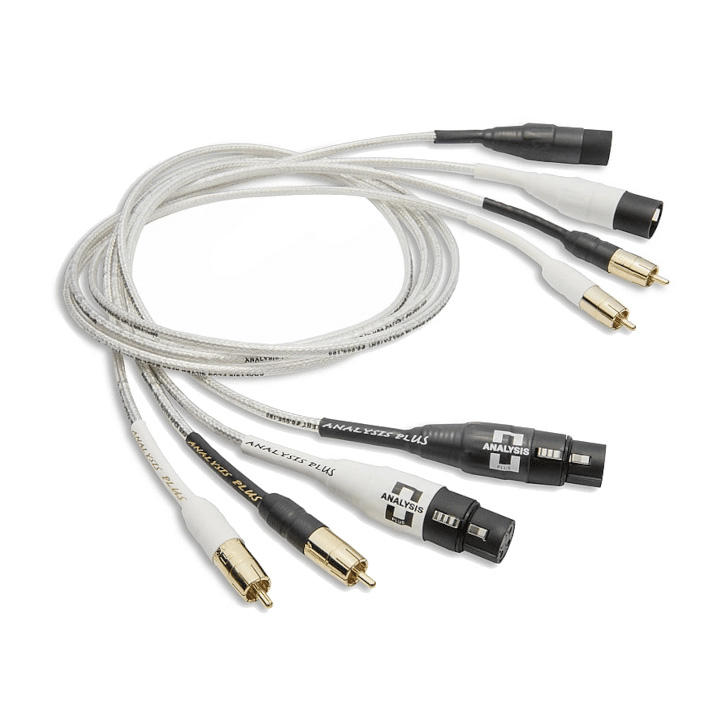
Cables
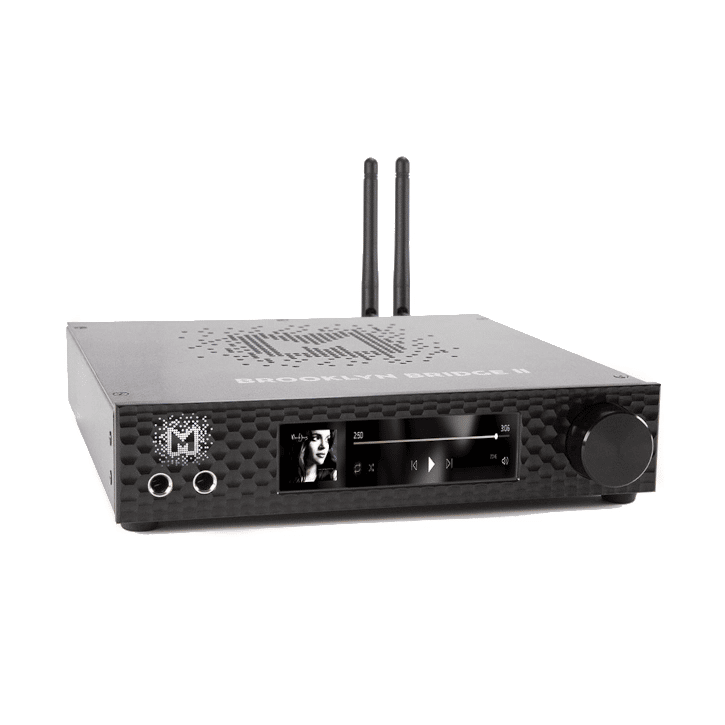
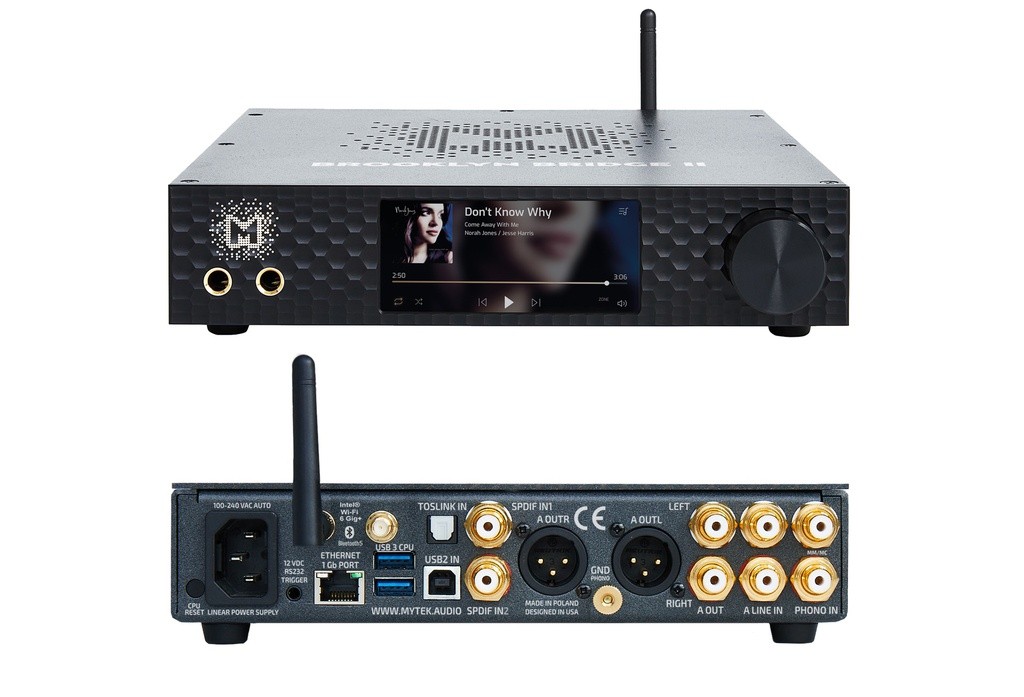
DACs

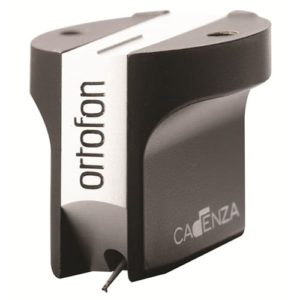
Cartridges & Tonearms
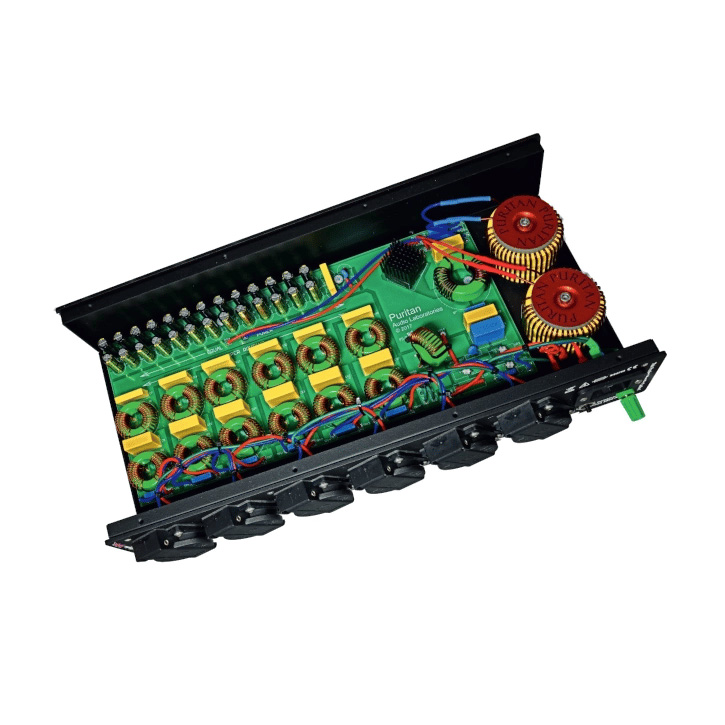
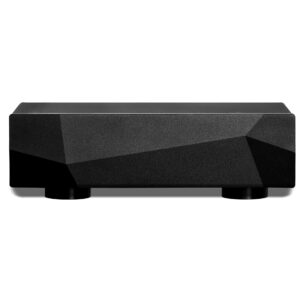
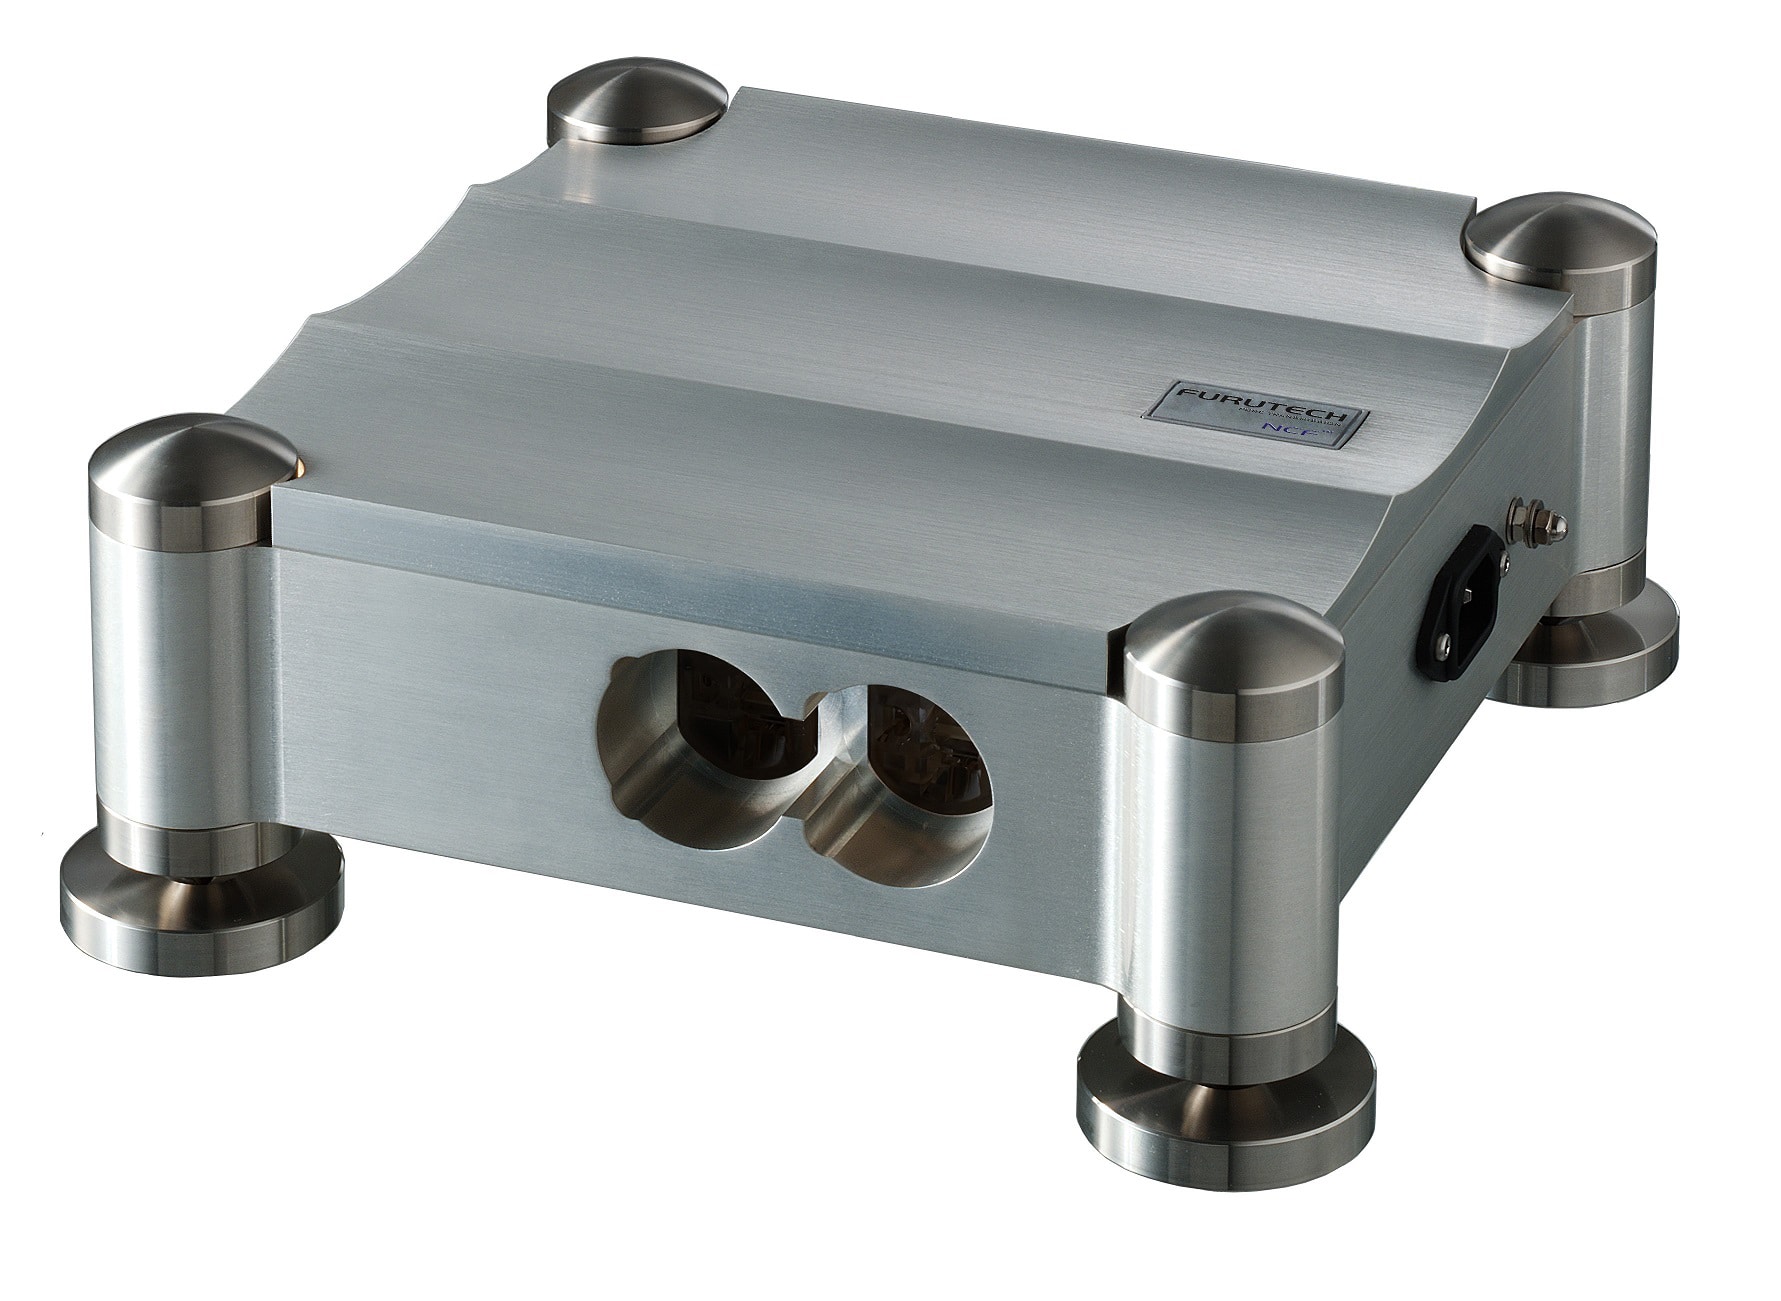
Power Conditioning
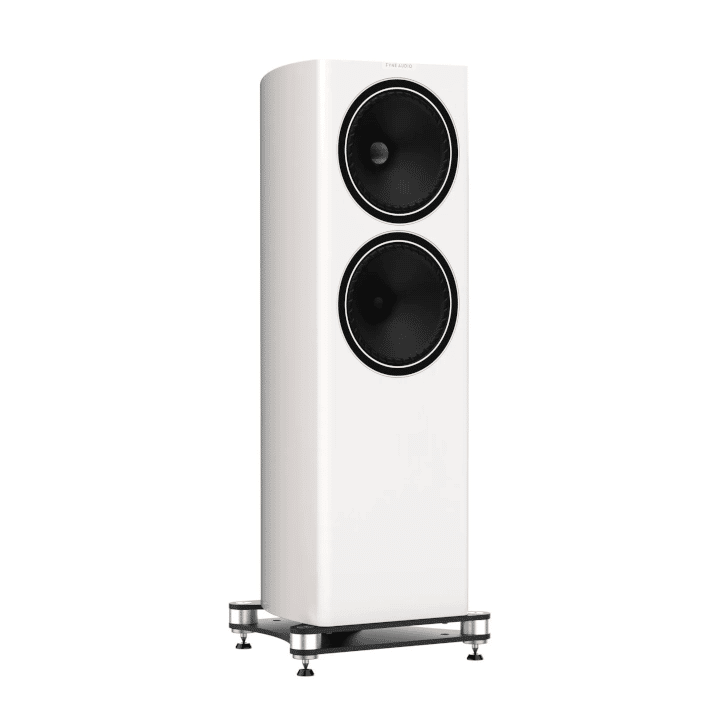
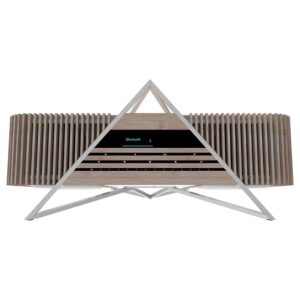
Speakers
Jaguar Benefits


In-Home Trial Periods on Almost Everything!
Whether you want to sell your high-end audio or upgrade to the next level of sound quality. Higher Fi is the world leader when it comes to buying or selling high end speakers, audio components and accessories.
Featured Products
-
 $1,000.00
 -
$179.95
-
$1,449.00
-
$2,500.00
-
 $1,795.00
 -
$1,775.00
-
 $264.95
 -
 $6,995.00
 -
$999.00
-
 $6,495.00
 -
$6,095.00
-
 $2,495.00
 -
 $799.00
 -
 $1,649.00
 -
 $9,800.00


New Products
-
$1,495.00
-
$1,479.00
-
$9,999.00
-
 $1,650.00
 -
 $3,249.00
 -
$4,349.00
-
 $4,995.00
 -
 $18,900.00
 -
 $51,995.00
 -
 $1,995.00
 -
-
 $8,995.00
 -
$1,225.00
-
 $1,584.00
 -
$498.00


WHY CHOOSE JAGUAR

SELECTION
Jaguar's product selection spans hundreds of products from dozens of brands and is continuously expanding and evolving. We seek to offer a vast range of great options for audiophiles at every stage and budget. Know that we won't sell anything we wouldn't use in our own system. Only those products that meet the highest levels of Quality, Performance and Value are found on this site!

VALUE
Being an audiophile is not what you would call an inexpensive pursuit. All of us work within a budget where we feel comfortable indulging our quest for sonic nirvana...but regardless of your budget you should expect every purchase from Jaguar to provide years of enjoyment and maintain strong resale value. We even allow you to Trade to Upgrade most of your Jaguar purchases for credit toward your next one.

CUSTOMER SERVICE
Delivering top-flight Customer Service is our number one goal. Starting with amazing products, we offer helpful advice and product support, answer your calls and emails right away, keep you informed on your order status, ship your order quickly and handle warranty claims for you...above all, it's our responsibility to ensure your experience is satisfying from the beginning and every day that follows.
SATISFACTION
The journey of an audiophile is one that often lasts a lifetime and we'd like to join you on that journey. In our mission to keep our customers coming back again and again, we strive to generate tremendous satisfaction at every point you cross paths with Jaguar. Rather than just making quick sales, the long-term view requires us to build trust with each client and to put your best interests first.